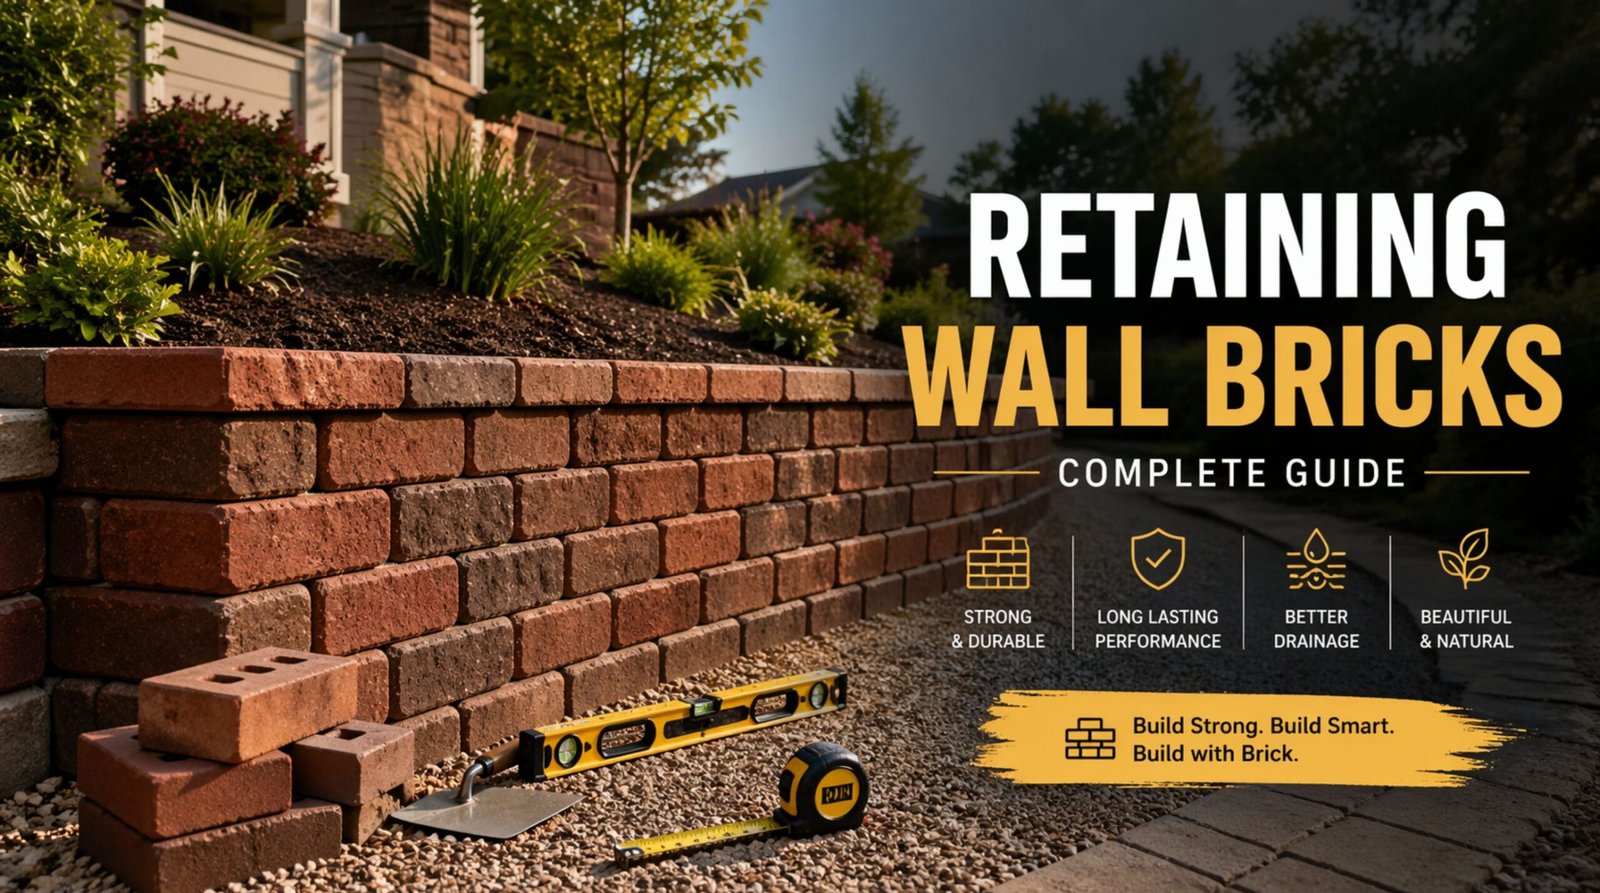
Learn everything you need to know about planning, building, and maintaining a beautiful brick retaining wall for your yard. We cover material costs, step by step instructions, and expert design ideas to help you complete your outdoor project.
What Are Retaining Wall Bricks?
Retaining wall bricks are heavy duty building materials designed to hold back soil and prevent erosion in outdoor landscapes. When you have a sloped yard, these bricks allow you to create flat, usable spaces by literally holding back the earth. They act as a strong barrier against the natural movement of dirt and water.
Unlike standard house bricks, retaining wall materials are usually much heavier. They need to handle massive amounts of pressure from the soil behind them. This pressure is known as lateral earth pressure. When it rains, the soil gets heavy with water, and the pressure on your wall increases significantly. That is why choosing the right material is vital for safety and long term stability.
🧱 Good to know: Many modern retaining wall blocks have a lip or interlocking pin system. This makes them much easier to stack compared to traditional masonry bricks that require wet mortar.
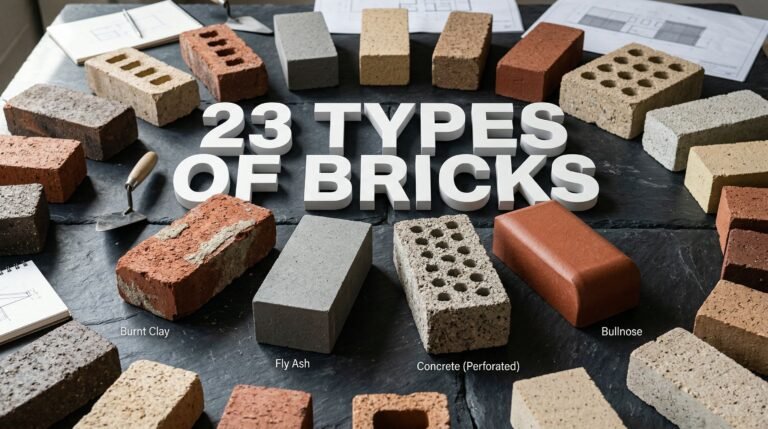
You can find these blocks in a wide variety of colors, textures, and sizes. Some look like natural tumbled stone, while others have a very clean and modern face. If you are curious about the sheer variety of brick materials available for different home projects, you can read our detailed guide on the 23 types of bricks used in construction today.
A brick retaining wall is not just a functional structure. It is also a major landscaping feature that adds serious curb appeal to your property. Properly built walls can last for decades without needing major repairs. They frame garden beds, define property lines, and create beautiful terraced levels on steep hillsides.
How to Build a Brick Retaining Wall?
Learning how to build retaining wall structures requires good physical energy and careful planning. You cannot simply stack bricks on top of bare grass and expect them to stay upright. The secret to a successful build is entirely in the preparation of the base and the drainage system.
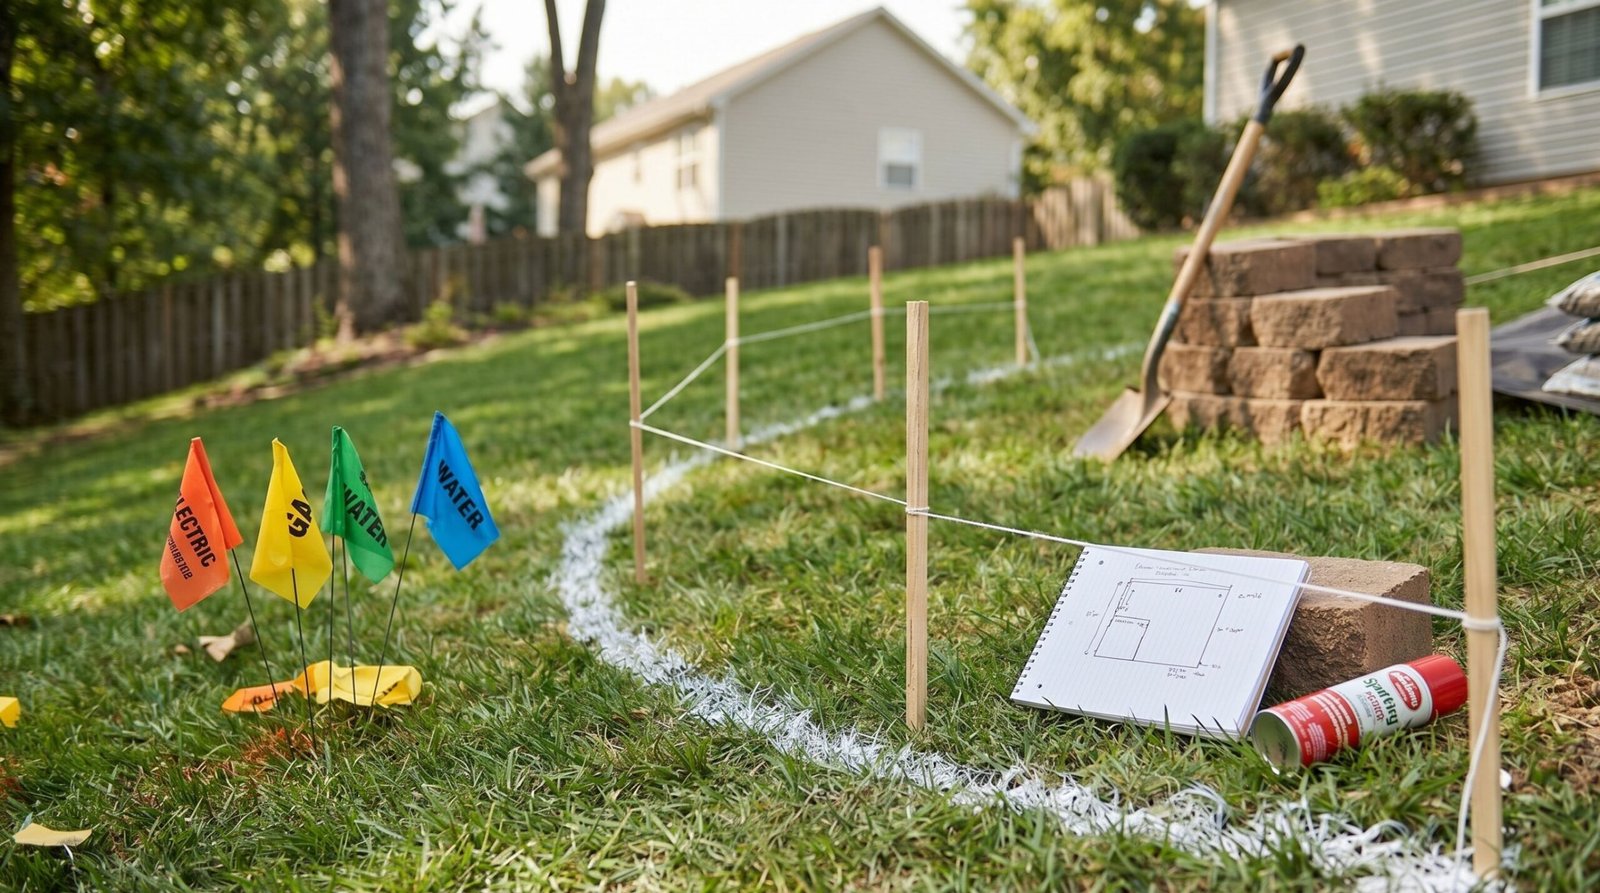
Before you lift a single shovel of dirt, you must map out your project line. Use wooden stakes and string to mark exactly where the wall will go. It is highly recommended to use marking paint directly on the grass so you have a clear visual guide for digging. You also need to call your local utility companies. You must ensure you will not accidentally dig into buried gas lines, water pipes, or electrical wires.
The total height of your project dictates the complexity of the build. Walls under three feet tall are generally considered safe for homeowners to build on their own as a weekend project. However, walls that go over four feet tall face extreme soil pressure. Local building authorities usually require a permit and a structural engineer to sign off on walls over this height limit. You can check general construction safety standards and soil mechanics information on trusted sites like Wikipedia.
You must also decide on your building method. You can build a dry stacked wall using heavy interlocking concrete blocks, or you can build a traditional masonry wall using clay bricks and mortar. Dry stacked walls are flexible and allow water to slowly seep through the joints. Mortared walls are completely rigid and require absolute perfection when mixing concrete for the footing.
How to Lay a Brick Retaining Wall?
If you choose to use traditional masonry bricks and mortar, the process of laying a brick retaining wall is a specific craft. You are essentially building two walls with a gap in between, or a single very thick wall, to provide enough weight and strength. This is fundamentally different from building a simple garden border.
First, you must pour a solid concrete footing. A concrete trench gives the mortar and bricks a stable, flat surface to sit on. The footing must be poured below the frost line in your region so the freezing ground does not push the wall up and crack it. Once the concrete is fully cured, you can begin mixing your mortar.
⚠️ Important Rule: Never mix more mortar than you can use in one hour. If the mortar begins to dry out in your wheelbarrow, it will lose its binding strength.
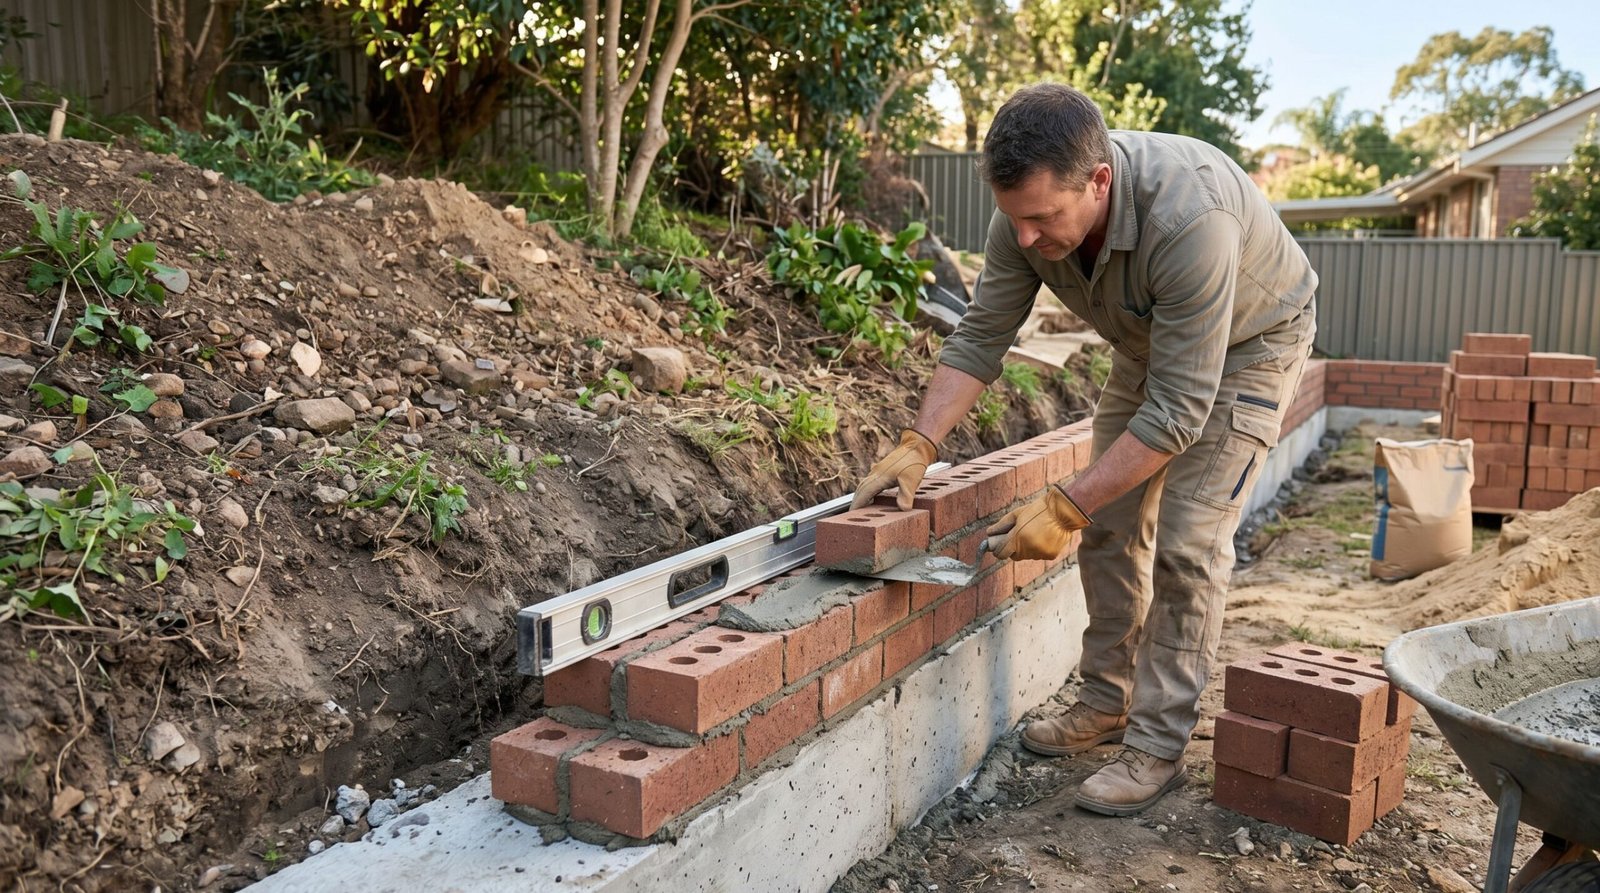
To lay the bricks, apply a thick bed of mortar onto the concrete footing using a masonry trowel. Press your first brick firmly into the mud. You must use a spirit level constantly. Check the brick from left to right, and from front to back. If the first row of bricks is not perfectly level, every single row above it will be crooked.
Butter the end of the next brick with mortar and push it against the first one. Tap it down gently with the handle of your trowel to align it perfectly. Scrape away the excess mortar that squeezes out of the joints. As you start the second row, you must stagger the joints. This means the middle of the top brick should sit directly over the gap between the two bricks below it. This staggered pattern is what gives a brick retaining wall its incredible structural strength.
Types of Retaining Wall Bricks
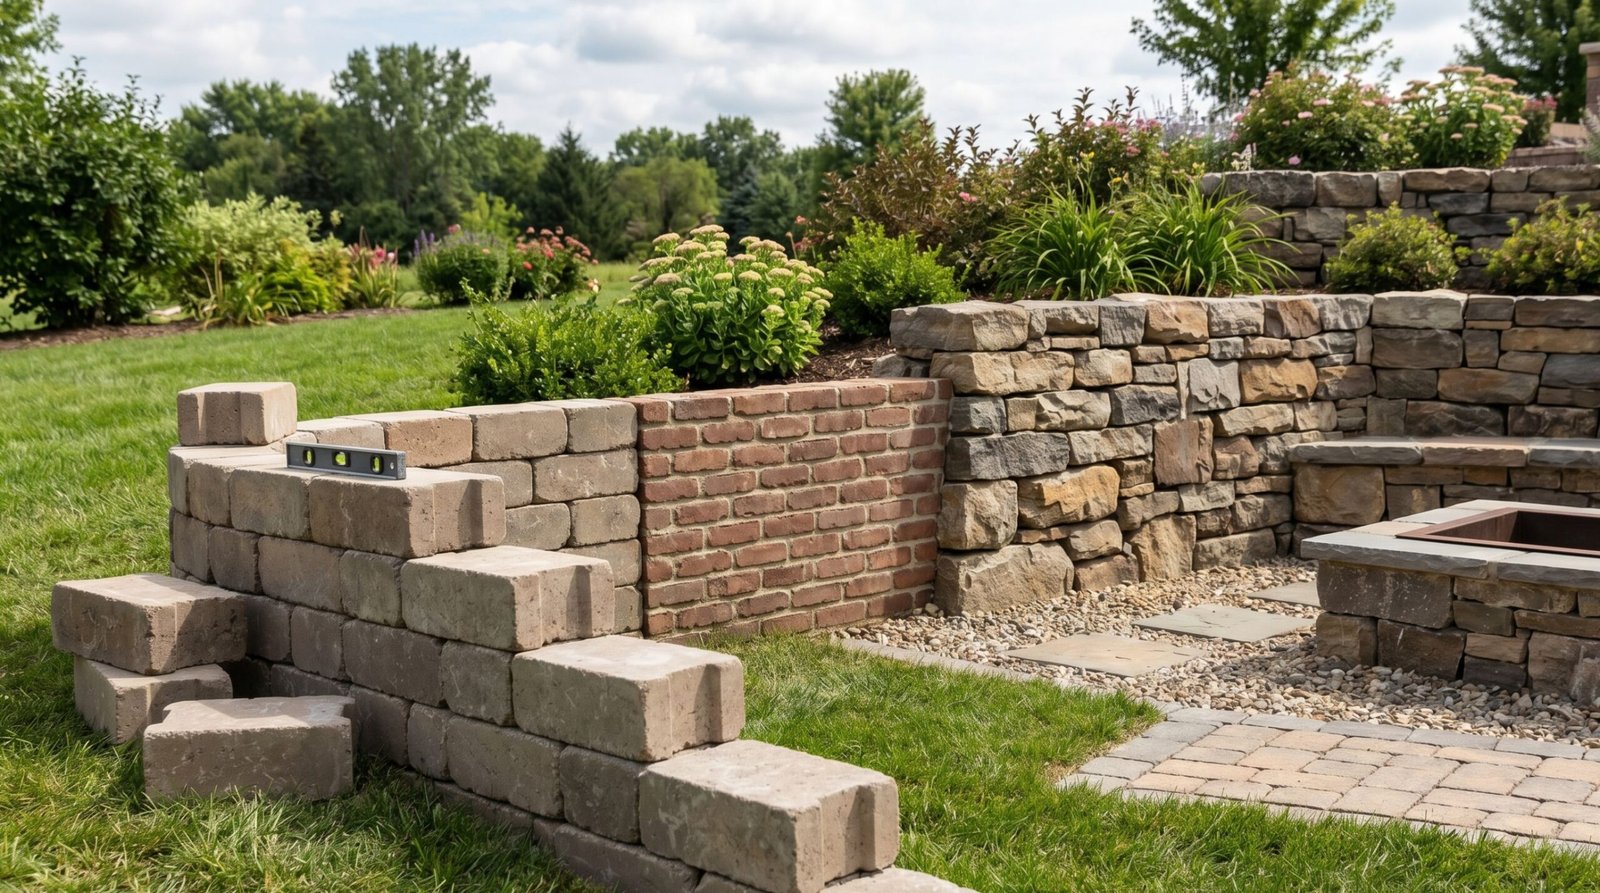
When shopping for materials at your local home improvement store, you will notice three main categories of retaining wall bricks. Choosing the right material depends on your budget, your skill level, and the aesthetic you want for your yard.
1. Interlocking Concrete Blocks
These are the most popular choice for DIY projects. They are manufactured from dense concrete and feature a lip or a pin system on the back. As you stack them, the lip catches on the block below it, forcing the wall to step backward slightly into the hill. This backward lean provides immense strength against soil pressure. They do not require any mortar, making them very clean and simple to install.
2. Traditional Clay Bricks
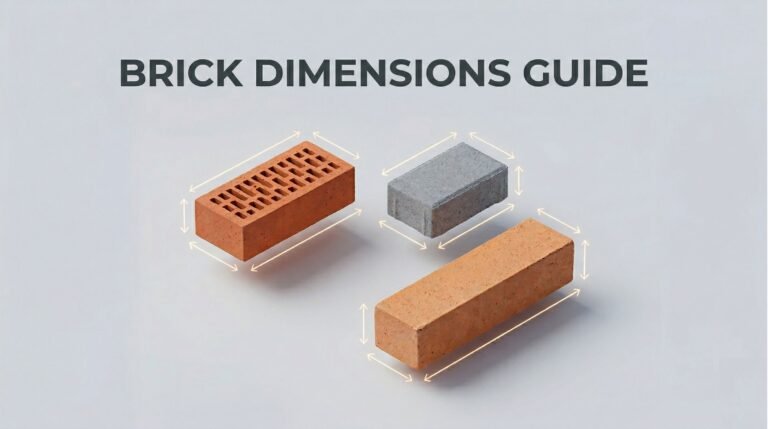
Clay bricks offer a timeless, classic look that matches historic homes beautifully. Building with clay requires wet mortar and concrete footings. They are smaller than concrete blocks, meaning you will need a massive quantity of them to build a standard wall. If you want to understand the exact measurements and how many you might need, check our brick size dimensions guide.
3. Natural Stone Blocks
Cut stone or fieldstone provides a very rustic, high end appearance. Stones are incredibly heavy and irregularly shaped. Building a stone wall requires patience because you have to find pieces that fit well together, much like a giant puzzle. They are usually the most expensive option on the market.
If your project involves building a retaining wall near a heat source, like a custom outdoor kitchen or an embedded fire pit, standard concrete blocks can crack under extreme heat. In those specific areas, you will need to understand the materials listed in our fire brick guide to ensure safety.
Benefits of Brick Retaining Walls
Adding a brick retaining wall to your property offers major advantages that go far beyond just looking good. These structures solve serious landscaping problems and provide a great return on your financial investment.
- Erosion Control: This is the primary function of the wall. It holds back heavy soil and prevents rain from washing your yard down the hill. It saves your plants, your lawn, and protects the foundation of your home.
- Creates Usable Space: By carving into a steep hill and holding the dirt back, you create a flat terrace. You can use this new flat area for a patio, a playground, or a vegetable garden.
- Incredible Durability: Wood timber walls rot away after ten or fifteen years. Brick and concrete block walls can easily last fifty years or more because they do not rot, and bugs cannot eat them.
- Low Maintenance: Once the wall is built correctly, you rarely have to touch it. There is no painting or staining required. Occasional cleaning with a garden hose is usually all it takes to keep it looking fresh.
- Property Value: Professional landscaping structures add significant value to real estate. Buyers love the look of structured, terraced yards with neat brick borders.
Step by Step Installation Guide
Building a strong wall takes time and physical effort. Follow this step by step guide to ensure your retaining wall bricks stay upright for decades.
Excavate the Trench
Dig a trench along your marked line. The trench needs to be twice as wide as your bricks. For the depth, you must dig deep enough to bury the entire first row of bricks, plus an additional six inches for your gravel base. Burying the first row anchors the wall into the earth so it cannot slide forward.
Add the Gravel Base
Pour crushed angular gravel into the trench to a depth of about six inches. Do not use smooth river rock, as the pieces will roll around. You need crushed stone because the sharp edges lock together. Use a heavy steel hand tamper to pound the gravel until it is completely flat and hard as concrete. Check it with a long level.
Lay the First Course
Place your first brick at the lowest point of the trench. Use a rubber mallet to tap it firmly into the gravel. Place your level on top of the brick and adjust it until the bubble is perfectly centered. Place the next brick right next to it. You must check the level across both bricks. This is the most important step in the entire project. Take your time.
Install Drainage Pipe
Once the first row is down, lay a perforated corrugated drain pipe directly behind the bricks. Angle the pipe slightly so water can flow away from the wall and exit freely at the ends. Cover the pipe completely with more crushed gravel.
Stack Remaining Rows
Begin stacking the next layers of retaining wall bricks. Make sure to stagger the joints for maximum strength. If you are using interlocking blocks, push them forward so the lip catches on the row beneath it. Sweep the top of each row clean before adding the next one, because even a tiny pebble can throw off your level.
Backfill with Gravel
As you build higher, you must fill the space directly behind the wall with crushed gravel, not dirt. Aim for at least twelve inches of gravel behind the bricks. This allows rain water to drop quickly down to the drain pipe instead of pressing heavy wet dirt against the back of your wall.
Apply Capstones
When you reach your desired height, you can glue flat capstones to the top row using heavy duty masonry construction adhesive. This gives the wall a clean, finished appearance and prevents water from pooling inside the block cavities.
Tools and Materials Needed
Having the correct tools on site before you begin will save you multiple trips to the hardware store. Here is exactly what you need to build a brick retaining wall.
Digging Tools
Square shovel, spade, pickaxe, and a heavy wheelbarrow for moving dirt and stone.
Measuring Tools
Four foot spirit level, torpedo level, tape measure, string line, and wooden stakes.
Hand Tools
Heavy steel hand tamper, rubber mallet, masonry chisel, and a heavy hammer.
Materials
Retaining wall bricks, crushed gravel for base, landscape fabric, perforated drain pipe, masonry adhesive.
Common Mistakes to Avoid
Even a wall built with the strongest bricks will fail if the underlying mechanics are ignored. Avoid these frequent amateur mistakes to ensure your project lasts.
Ignoring the Base: Some people just level out the dirt and start stacking bricks. Dirt will settle, shift, and turn to mud when it rains. Without a compacted gravel trench, your wall will lean forward and collapse within the first year.
Forgetting the Drainage: This is the number one reason retaining walls fail. Water is incredibly heavy. If water gets trapped behind the wall, the hydrostatic pressure will literally blow the bricks outward. You must use clean gravel backfill and a proper drain pipe.
Not Burying the First Row: The bottom row of blocks must be completely buried under the soil line. This provides essential toe strength and prevents the bottom of the wall from kicking out under the weight of the dirt above.
Building Too High: Gravity walls rely entirely on their own weight to hold back the earth. If you try to build a standard block wall six feet tall without engineering reinforcements like geogrid fabric, it will become dangerously unstable.
Retaining Wall Cost Breakdown
Understanding the retaining wall cost variables is essential for budgeting. The total price depends heavily on the materials you choose and whether you hire a professional crew or do the labor yourself.
| Expense Category | DIY Cost Estimate (per square foot) | Professional Cost Estimate (per square foot) |
|---|---|---|
| Interlocking Concrete Blocks | $15 to $25 | $35 to $55 |
| Clay Masonry Bricks | $20 to $30 | $45 to $65 |
| Natural Stone Blocks | $30 to $50 | $60 to $100+ |
| Base Gravel & Drainage Materials | $3 to $6 | Included in pro estimate |
If you build the wall yourself using standard concrete blocks, you might spend between $1,500 and $2,500 for a modest fifty foot wall that is two feet tall. If you hire a professional landscaping company, expect to pay between $4,000 and $7,000 for that exact same project. Labor makes up more than half of the total expense because moving literal tons of stone and dirt is exhausting work.
For a broader perspective on how much masonry projects cost in general, particularly if you are considering adding brick features to your main residence, you can review our detailed guide on the cost to brick a house.
Maintenance Tips
Brick retaining walls require very little daily attention, but performing a quick seasonal checkup will help you spot minor issues before they become major structural failures.
Once a year, walk the length of your wall and look for signs of bulging. If a section looks like its pushing forward, you have a drainage problem. You should also check the ends of your drain pipe to ensure they are not clogged with leaves or mud. Water must be able to escape freely.
You might notice a white, powdery substance appearing on the face of your bricks. This is called efflorescence. It happens when moisture travels through the brick and leaves salt deposits on the surface. It is harmless, but it looks messy. You can clean it off with a stiff nylon brush and a mild masonry cleaner.
If you have a traditional mortared wall, check the joints for cracking or crumbling. Water can freeze inside cracked mortar and cause severe damage during the winter. If you notice bad mortar joints, you will need to scrape them out and refill them. We have a complete walkthrough for this process in our brick repair guide.
Retaining Wall vs Brick Wall
Many people confuse standard freestanding brick walls with retaining walls. They serve completely different purposes and are built using entirely different structural rules.
| Feature | Retaining Wall | Standard Brick Wall |
|---|---|---|
| Primary Purpose | Holds back heavy soil and water pressure from one side. | Divides space, provides privacy, or acts as a decorative border. |
| Structural Design | Usually leans backward into the hill. Requires massive thickness and weight. | Built perfectly straight up and down. Usually quite thin. |
| Drainage Systems | Absolutely critical. Requires gravel backfill and perforated pipes. | Minimal drainage needed. Usually just sheds rain off the top. |
| Foundation Depth | Requires a deep, highly compacted gravel trench or deep concrete footer. | Requires a standard concrete footer just below frost line. |
A standard wall only has to hold up its own weight and resist wind. A retaining structure has to resist thousands of pounds of wet soil constantly trying to push it over. You can never use a standard thin brick wall design to hold back a hillside.
Best Design Ideas for Brick Retaining Walls
Your wall does not have to be a boring straight line of gray blocks. With a little creativity, you can turn this functional structure into the highlight of your outdoor living space.
Incorporate Sweeping Curves: Straight lines look very rigid and formal. By gently curving the wall to follow the natural contours of your landscape, you create a softer, more organic look. Most interlocking blocks are tapered slightly on the sides to make building smooth curves very easy.
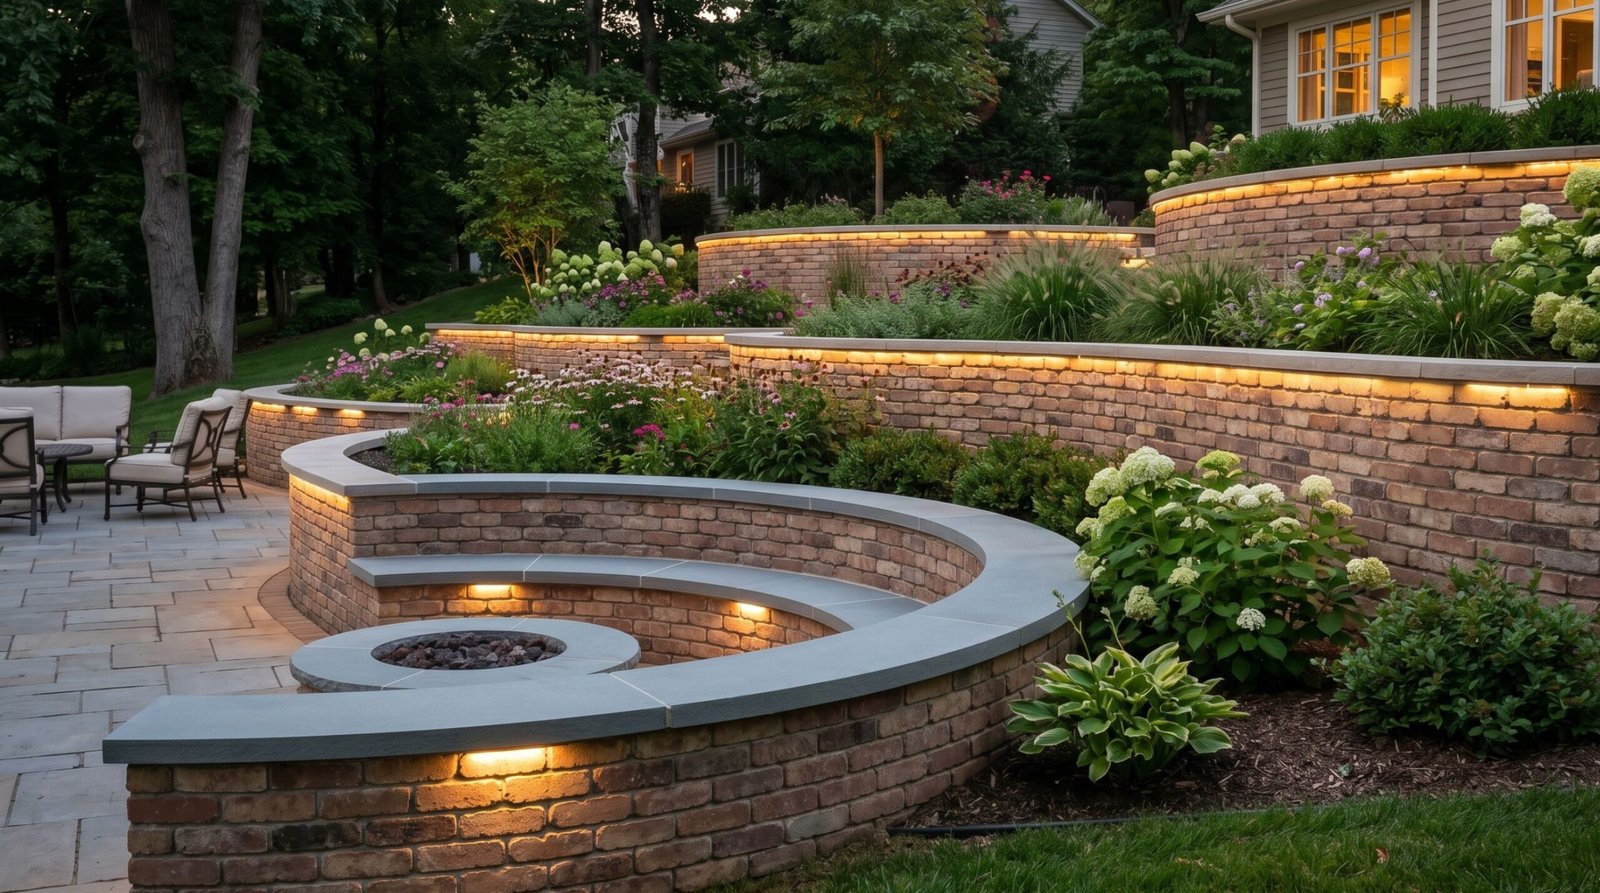
Add Built In Seating: If your wall surrounds a patio or a fire pit area, you can build a section to exactly eighteen inches high and cap it with wide, smooth stones. This instantly provides massive amounts of permanent seating for outdoor parties without cluttering your patio with chairs.
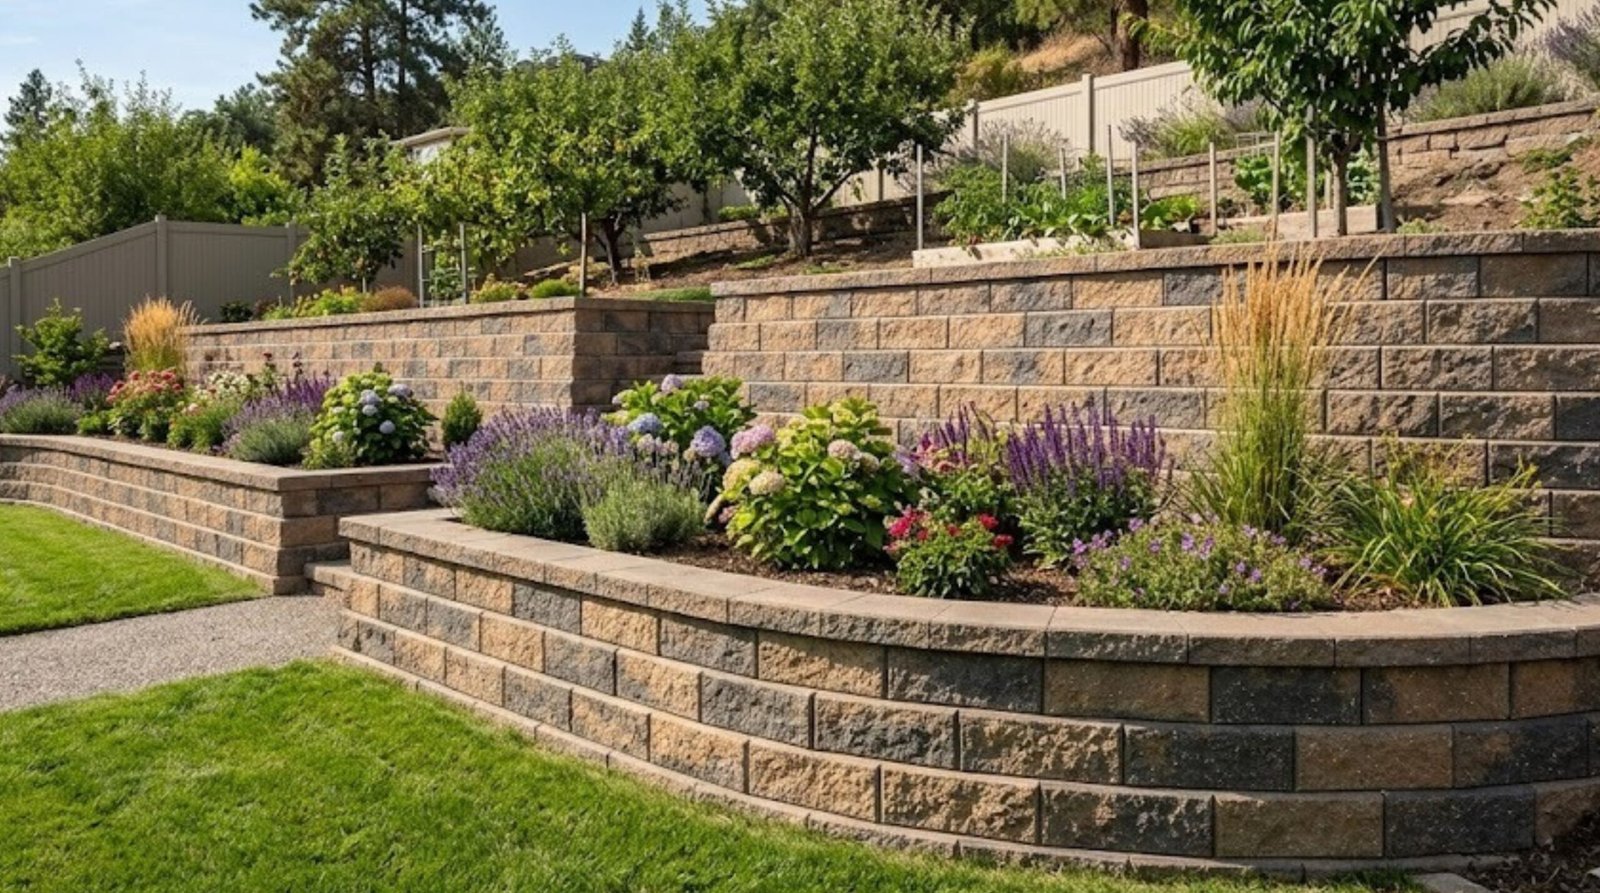
Create Terraced Levels: Instead of building one massive six foot wall to hold back a steep hill, build three separate two foot walls spaced out by a few feet. You can plant colorful shrubs and flowers in the flat spaces between the walls. Terracing is visually stunning and much safer than building one giant vertical drop.
Install Low Voltage Lighting: Hide small LED lights directly under the capstones of your wall. When the sun goes down, these lights cast a beautiful downward glow that highlights the texture of the bricks and makes your outdoor space safe to navigate at night.
Drainage and Structural Stability
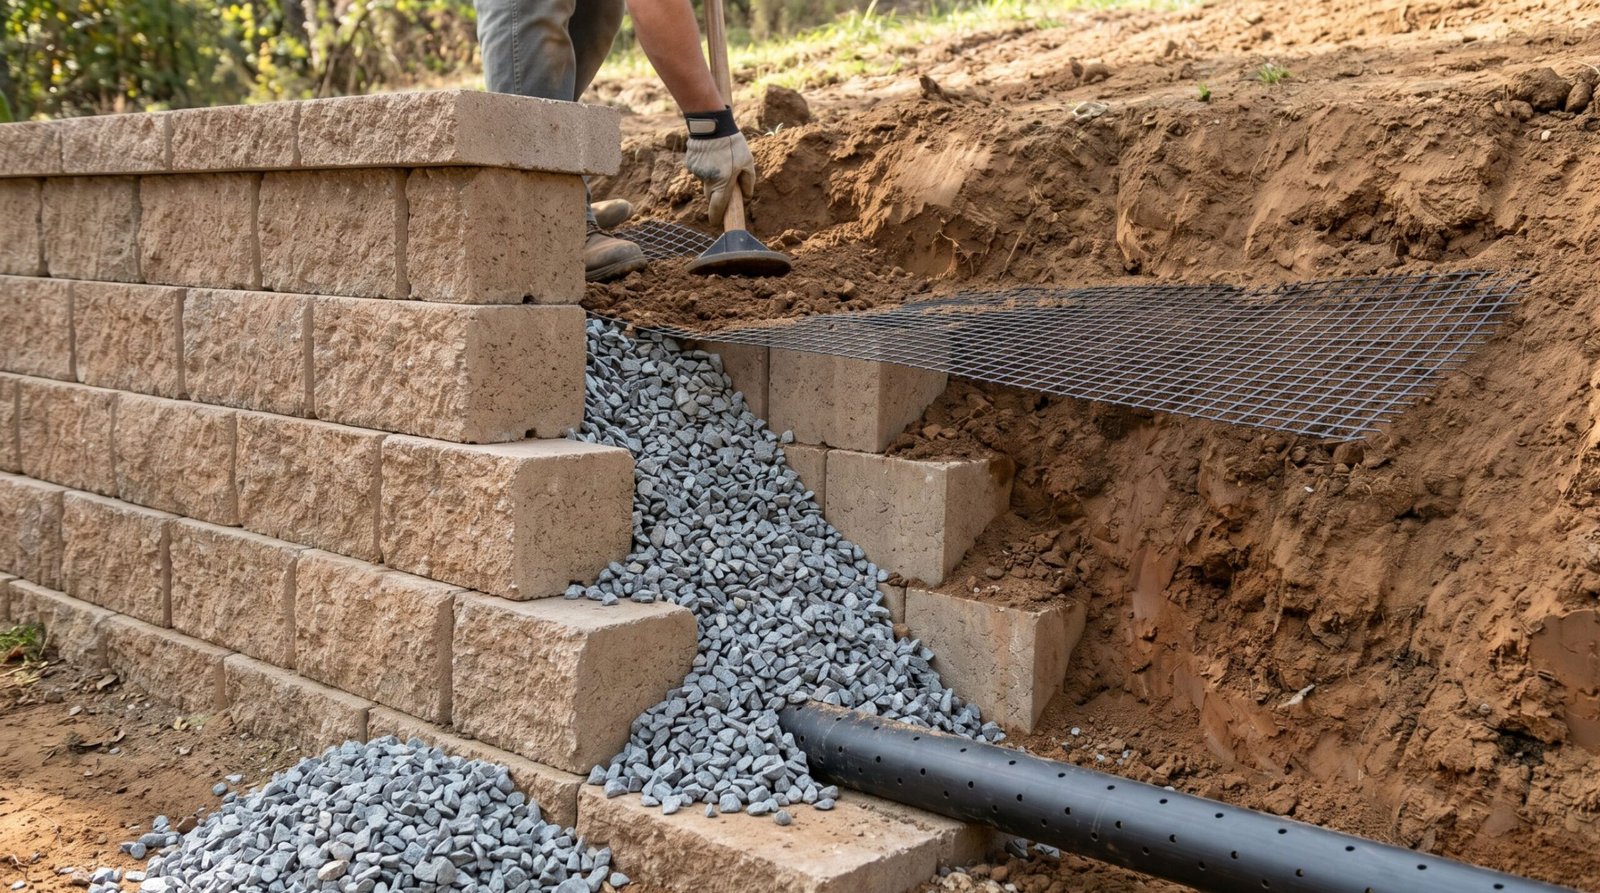
We cannot stress enough how critical proper water management is to the lifespan of your retaining wall bricks. As soil absorbs rain, it expands and becomes incredibly heavy. Engineering experts refer to this as hydrostatic pressure. If you do not provide a path for this water to escape, it will find a way through your wall by destroying it.
Always use clean, washed, three quarter inch gravel directly behind the blocks. This creates a porous zone where water drops straight down instantly. At the bottom of this gravel zone, your perforated drain pipe collects the water and channels it safely out the sides of the wall. Home improvement authorities like Bob Vila regularly emphasize that proper backfill is the secret to walls that last generations.
If you are building a tall wall or dealing with highly expansive clay soil, you will also need to use geogrid. Geogrid is a tough plastic mesh fabric. You lay it flat on top of the bricks mid way up the wall, and extend it backward into the hillside soil. As you pack dirt on top of the grid, it ties the physical mass of the hill directly to the blocks, creating a unified structure that is nearly impossible to push over.
Frequently Asked Questions
Here are the most common questions homeowners ask when planning a brick retaining wall project.
Do I need to put concrete under a retaining wall?
If you are building a traditional mortared clay brick wall, yes, you absolutely need a poured concrete footer below the frost line. If you are using dry stacked interlocking concrete blocks, you do not need concrete. A deeply compacted trench filled with crushed angular gravel is the correct base for interlocking blocks.
How high can I build a retaining wall without a permit?
In most local municipalities, you can build a wall up to three or four feet high without a building permit. However, this rule varies wildly depending on your city and whether the wall is near a property line. Always call your local building department to verify before you start digging.
What is the best material to backfill behind the wall?
You must use clean, crushed angular gravel (usually three quarter inch size). Never backfill directly against the bricks with the dirt you dug out of the hill. Dirt holds water and expands, which will eventually push your wall over. Gravel allows the water to drain safely away.
Do I need to use mortar with concrete retaining blocks?
No. Most heavy concrete retaining wall blocks are designed to be “dry stacked.” They rely on their sheer weight and physical interlocking lips or pins to stay together. Using mortar on these specific blocks can actually ruin their ability to flex slightly with ground movement.
How do I cut retaining wall bricks?
For small, traditional clay bricks, you can use a masonry chisel and a heavy hammer to score and snap the brick. For thick, heavy concrete blocks, you will need to rent a wet masonry saw equipped with a diamond blade from your local hardware store to get a clean, safe cut.
Why is my retaining wall leaning forward?
A leaning wall almost always indicates a drainage failure. Water is getting trapped in the dirt behind the bricks and the resulting hydrostatic pressure is blowing the wall outward. It can also be caused by failing to compact the gravel base properly during the initial installation.
Can I build a retaining wall on a slope?
Yes, but you have to “step” the base trench. You cannot build a wall on an angled base. You must dig a flat trench, and as the hill rises, you dig a sharp step up to create a new, higher flat trench. The bottom row of bricks will look like a staircase buried in the ground.
How long do brick retaining walls last?
When built with a proper gravel base and excellent drainage, a concrete block or clay brick retaining wall can easily last 50 to 100 years. The bricks themselves will not rot. The only reason these walls fail early is due to poor installation techniques.
Are weep holes necessary?
Yes. If you are building a solid, mortared brick wall, you must leave vertical gaps (weep holes) in the mortar near the bottom row every few feet. This allows water trapped behind the wall to escape. Dry stacked blocks naturally allow water to seep through the joints, so dedicated weep holes are less critical.
Is it cheaper to build a retaining wall out of wood?
Yes, pressure treated wood timbers are significantly cheaper upfront than masonry products. However, wood will eventually rot away in the damp soil. You will have to tear it down and replace it in 10 to 15 years, making brick a much better long term financial investment.
📊 Plan Your Wall Perfectly
Do not guess how many materials you need for your project. Buying too little slows down your work, and buying too much wastes your money. Take the guesswork out of your landscaping build right now.
Use the Free Brick Calculator Tool